Oil Tank Condensation: What You Need To Know

Oil heating systems depend on the fuel stored in local heating oil tanks. It is a great setup for those who value security, but it is far from flawless. There are situations where water may seep inside of a heating oil tank and wreak havoc. Oil tank condensation happens all the time but homeowners have several options for prevention.
What You Need to Know about Oil Tank Condensation
Contents
- 1 What You Need to Know about Oil Tank Condensation
- 2 Call Lawes Company For Fast & Reliable Oil Deliveries
Before anyone can solve this problem, it is necessary to understand why oil tank condensation occurs and how this can be prevented.
The Processes Behind Water Infiltration in Home Oil Tanks
Water is omnipresent in our environment. It can shift between different states such as solid, liquid, and gas. It can gradually make its way inside the tank without anyone noticing. By knowing how it does this, you have a better chance of stopping its advance.
1. Rainwater

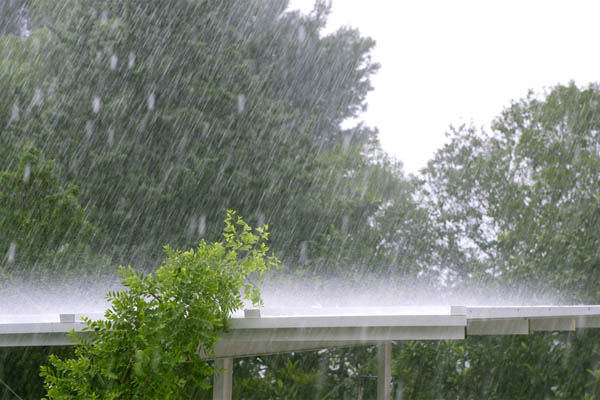
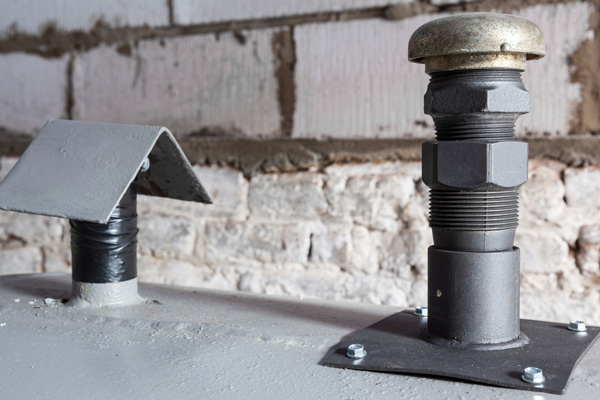
Where is your tank located? If it is outside the house, then the risk of exposure to rainwater is high. Do not underestimate the persistence of water. It can get through the slimmest gaps such as sealed caps and lids. These must be screwed tight to keep moisture out. Tanks under the gutter might also suffer due to overflows when it’s raining hard. As for older tanks, check for damage such as cracks on the walls or loose seals.
2. Condensation

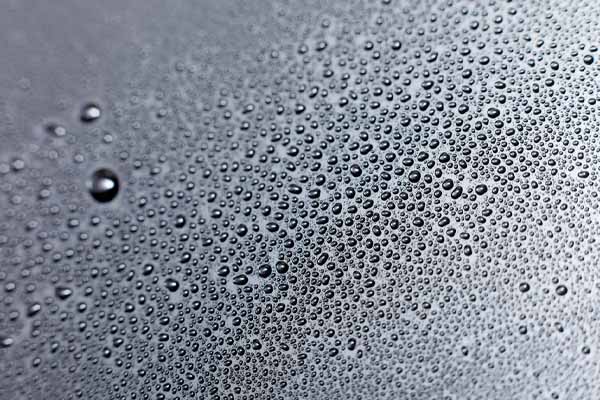
When it comes to condensation, it doesn’t matter where the tank is located. It will always be a threat. That’s because the air vents may pull in moist air. If the interior temperature dips, then the moisture in the air can shift into liquid form. This is most apparent in the cold walls of the tank interior where droplets form and slide down. A few drops won’t cause an emergency but letting this persist can worsen the situation over time.
3. Groundwater
As for oil tanks that are located beneath the ground surface, the primary means of infiltration is through holes on the tank’s weak points. This is a big concern for homeowners since the same holes could also let oil leak out into the soil. The contamination could harm the environment and endanger the neighborhood. Seek immediate professional assistance if this happens to you.
What Happens If Water Gets into the Heating Oil Tank?

A lot of people might be wondering what happens next if water does get into their fuel tanks. First, we should remember that fuel oil and water do not mix. Due to their densities, oil will eventually float on water so moisture can be hard to detect through visual inspection alone. This is particularly true in the case of underground tanks. Water can exist in the container for years without anyone noticing until symptoms emerge.
Rather than wait for water damage to occur, homeowners should take proactive measures to prevent it. They should adhere to a regular schedule to inspections and maintenance work. For example, they can perform a routine check using water-sensitive paste. Dip this to the bottom of the tank where water is likely to settle. If the paste changes color, then you have definitive proof of moisture’s presence. The more water in the tank, the faster professionals need to act to remove it.
How To Prevent Heating Oil Tank Condensation
We have so far discussed how water can enter tanks. Now we shift our attention to the prevention of further infiltration. Read on to learn about helpful strategies:
1. Check the Fuel Oil Tank

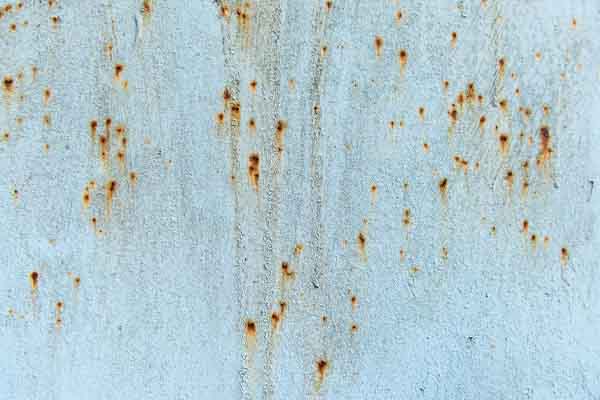
Keep your eyes peeled for signs of exterior tank damage. These include holes, rust, and paint chips. These should be easy to spot with a cursory glance. Check the caps and lids regularly to ensure that they are tightly sealed.
2. Test for Water
Since water inside the tank is not always visible, homeowners may have to perform tests to trace it. Talk to your heating oil delivery company for recommendations. They may point you to a water-finding paste that works well from their experience. Push this to the bottom of the tank where water is likely to pool. As for underground tanks, you may ask the pros to conduct a soil test to check for contamination.
3. Shield the Oil Tank from Heat
If you are just about to install an oil tank, then set it up for success. Paint the outside walls with a light reflective coat to minimize heating. Place it in a shaded area for additional protection from the sun. These measures will prevent extreme temperature fluctuations around the tank and keep condensation at bay.
4. Keep Your Home Oil Tank Full

It is only natural for the oil level to drop as your home consumes energy. However, you should not let it fall too low, or else there will be a lot of empty space for moist air to fill up. This makes condensation worse given the higher amount of vapor trapped inside. Have more oil delivered before this happens. Be vigilant about stored oil levels throughout the year.
5. Call the Pros
Homeowners have limited ability to care for their tanks due to inexperience. Let the professionals have a look at the container once a year or so for a more thorough inspection. They can tell you when you need to replace an old tank. They can also provide tips on how to care for a new one to prolong service life.
How a Professional Draws Water from Oil Tanks
Positive moisture test results need immediate follow-up. Once you know that water is present, you must remove it from the tank. It is better to let the professional do the job for optimal results. Professionals could do any of the following based on the situation:
1. Drain
A sludge valve is built into the bottom of metal tanks. Opening this should let the water move out quickly. A bit of oil can also flow through the valve, so the liquid must be collected and disposed with care.
2. Pump
There are no sludge valves in plastic tanks, but you can use other ways of removing water. One is to employ a hand pump to suck small amount of water. This should do fine for small amounts of liquid, but bigger volumes may require professional attention.
3. Absorb
Professionals could use water-absorbent materials inside the tank to capture water while it is at or near the surface. This will prevent it from moving down to the bottom over time. These materials must be collected and replaced on a regular interval. Another method is to utilize an alcohol-based dispersant.
Potential Damages of Not Removing Water from Your Oil Tank
1. Oil Tank Rust

A sense of urgency is needed in dealing with oil tank moisture. People who ignore the problem risk having a rusty tank over time. Water will eventually cause corrosion along the tank walls, although this may not be visible from the outside. The inner walls are the first to weaken with rust. It can spread across the system and cause a performance decline.
2. Freezing
Oil has a much lower freezing point than water. This allows it to shrug off the cold air in winter. If water gets into the tank, then it may freeze in subzero temperatures and block the supply lines. The system will fail if it cannot get fuel.
3. Bacteria
Bacteria is known to grow in moist areas. Oil tank interiors are no exceptions if they satisfy this condition. When the organisms multiply, they form sludge at the base that could release a corrosive substance. It could make its way to the filters, burners, and fuel lines which makes the problem worse.
Conclusion
A heating oil tank is built for fuel. Water should not be inside this container. Monitor the contents and remove moisture if present. Call professionals for assistance to keep your heating system in good shape.
Call Lawes Company For Fast & Reliable Oil Deliveries

Lawes Company offers trusted and affordable heating oil deliveries. We are known for our honest heating oil prices and skilled services. Not only that, but we also offer HVAC services which also impact how much fuel your system requires to keep your home warm and safe.
We offer different heating oil plans and financing options as a way to customize your fuel deliveries to meet your needs. Be sure to contact Lawes Company today to ask for more information or request service.
Contact us now at (732) 741-6300 to find out more!